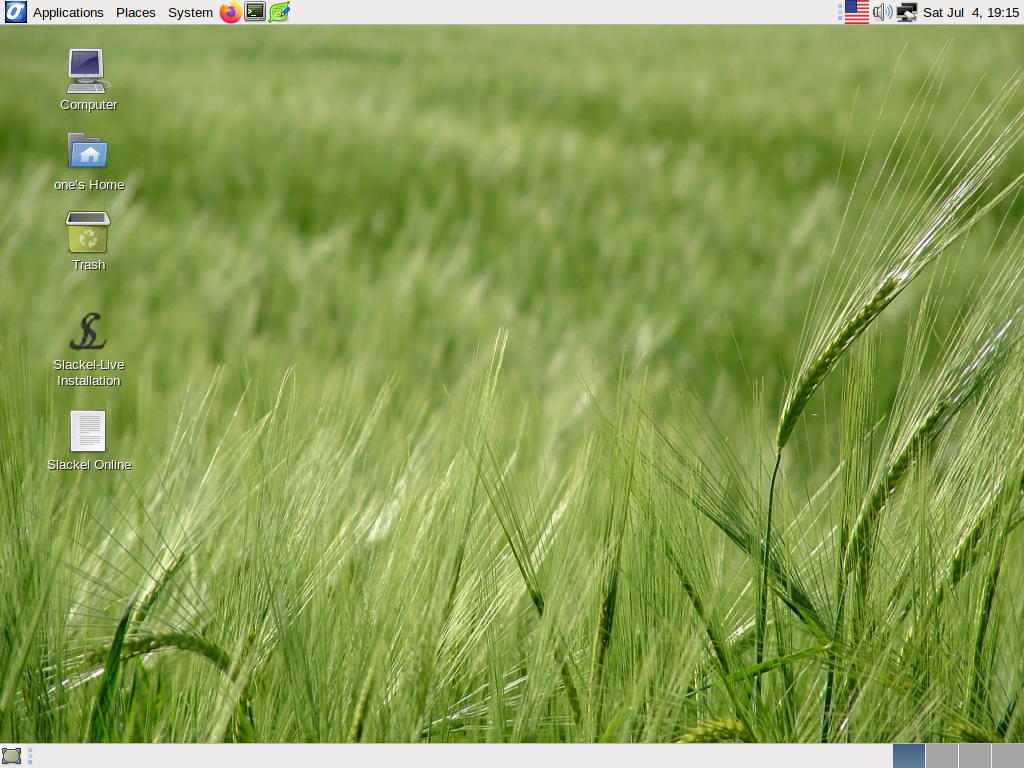
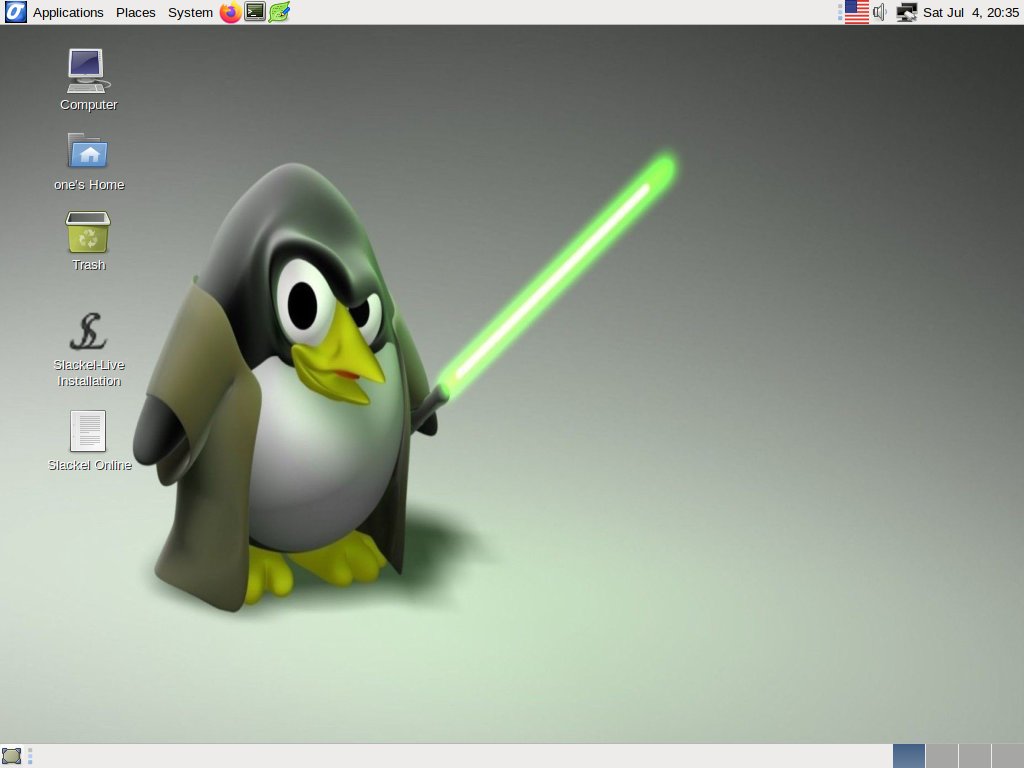
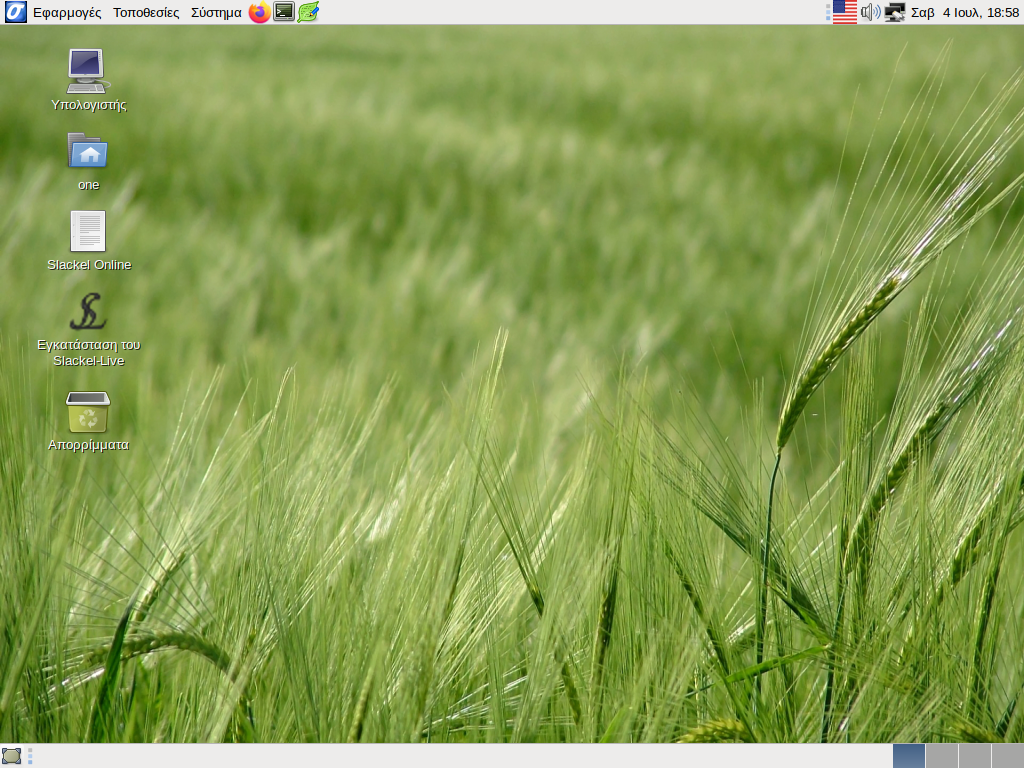
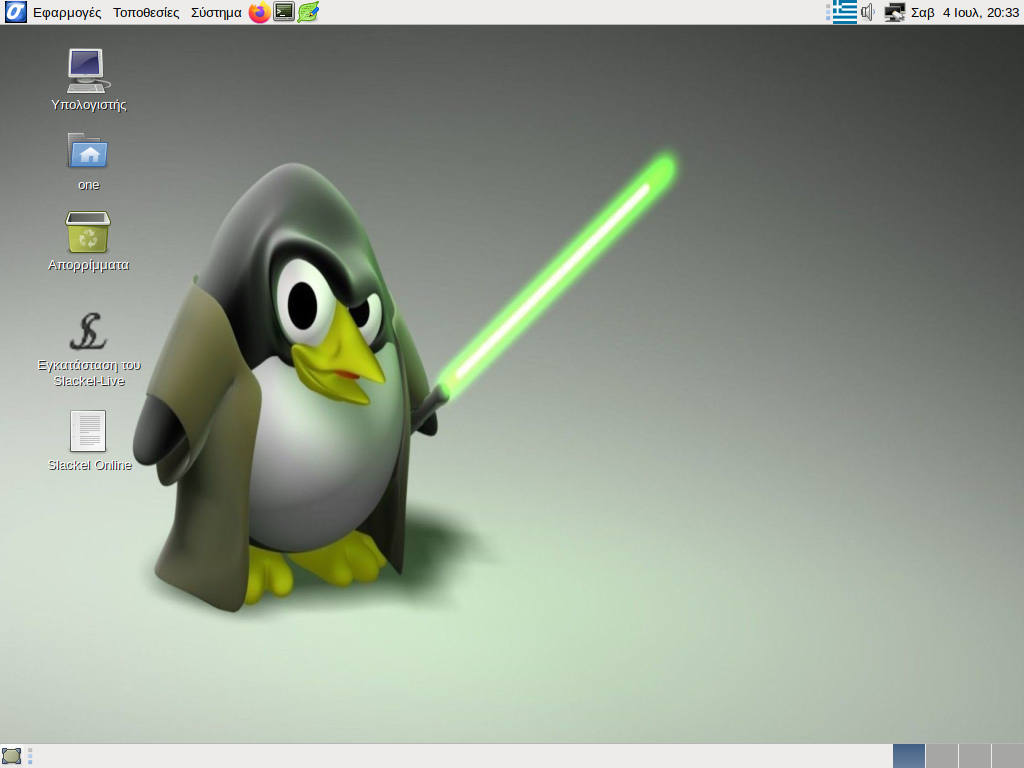
Includes the Linux kernel 5.4.51, Mate-1.22.1 and latest updates from Slackware's 'Current' tree.
Slackel Live Installer (SLI) now can do a real installation to an external usb stick or usb ssd or usb hard disk, creating the necessary initrd for booting. For this, just create a msdos partition table on /dev/sdb or /dev/sdc and a linux ext4 partition on /dev/sdb1 or on /dev/sdc1 where /dev/sdb is your first usb device, /dev/sdc the second usb plug in device. Sign the /dev/sdb1 or /dev/sdc1 bootable.
Create also a linux swap partition to /dev/sdb2 or /dev/sdc2, with size 2 or 4 GB according the memory you have.
Do not create a EFI partition.
If you boot using a slackel live mate dvd then your external usb device will be recognized as /dev/sdb.
If you boot using a slackel live mate usb then the second usb you will use for real installation it will be recognized as /dev/sdc.
In details:
Steps needed:
1. boot with live iso or live usb. After we see live environment, plug in the usb stick or external ssd or hd disk where we like to install salix.
2. this external device will recognized as /dev/sdb or /dev/sdc as i mention above.
3. run sli
4. press gparted button and pick up sdb or sdc. Unmount any partitions if are mounted or usb had a previous installation. Then delete all partitions on this device.
5. create a msdos partition table on this device (/dev/sdb or /dev/sdc)
6. create an ext4 partition where we will install the linux system and a 2 or 4 GB swap partition according the memory you have. Check the linux partition /dev/sdb1 or /dev/sdc1 bootable
7. close the gparted and will return to sli. You will see on Install location "dev/sdb1" or "/dev/sdc1"
8. check grub as bootloader.
9. Set root password, user name and user password.
10. choose full installation which is the default and click on "install live system"
make a coffee.
after installation finishes close sli.
shutdown, unplug both usb's and plug in only the one where you installed the system.
Power on.
Then press fn+F12 (in my case for lenovo laptop) and from bios boot menu choose the usb to boot.
To upgrade the kernel in the future, type in a xterminal
sudo install-upgrade-kernel upgrade huge ( This upgrades the kernel and also run update-grub. For internal or external installation)
sudo make_initrd_update_grub (This needed only if we have installed on an external usb device, otherwise system will not boot. Do not use it if have installed on an internal hard disk or ssd e.g. /dev/sda)
The mate version is available in 64-bit. The 32 bit image will be created before final release.
The 64-bit iso image support booting on UEFI systems.
Iso image is isohybrid.
Iso image can be used as installation media.
It is good to read the Slackel Startup Guide before install Slackel.
Please test it and report.
Have fun.
You can download Slackel 7.3 MATE iso image from the following links, using the Sourceforge servers.
Live iso images: Can be used also to install the system to hard disk.
Slackel64 7.3 "Live MATE" (64-bit)
(size: 1858 MB, md5: 49f04f27603949b5094ddfc6e5308853 sha1: 22d018ca0528d213a1553a03bcd33b53077f0d44)
Sourceforge: https://sourceforge.net/projects/slacke ... o/download
pkglist
Slackel 7.3 "Live MATE" (32-bit)
(size: 1846 MB, md5: 3942451ae36bde372840707699d8df3a sha1: 6777e05939c6231d435699343372e05d0f83a32a)
Sourceforge: https://sourceforge.net/projects/slacke ... o/download
pkglist


screenshots